Thursday 22 November 2018

Book in Miniature

I'm slowly making my way through a list of crafty projects
that need to be done,
along with projects just for fun.
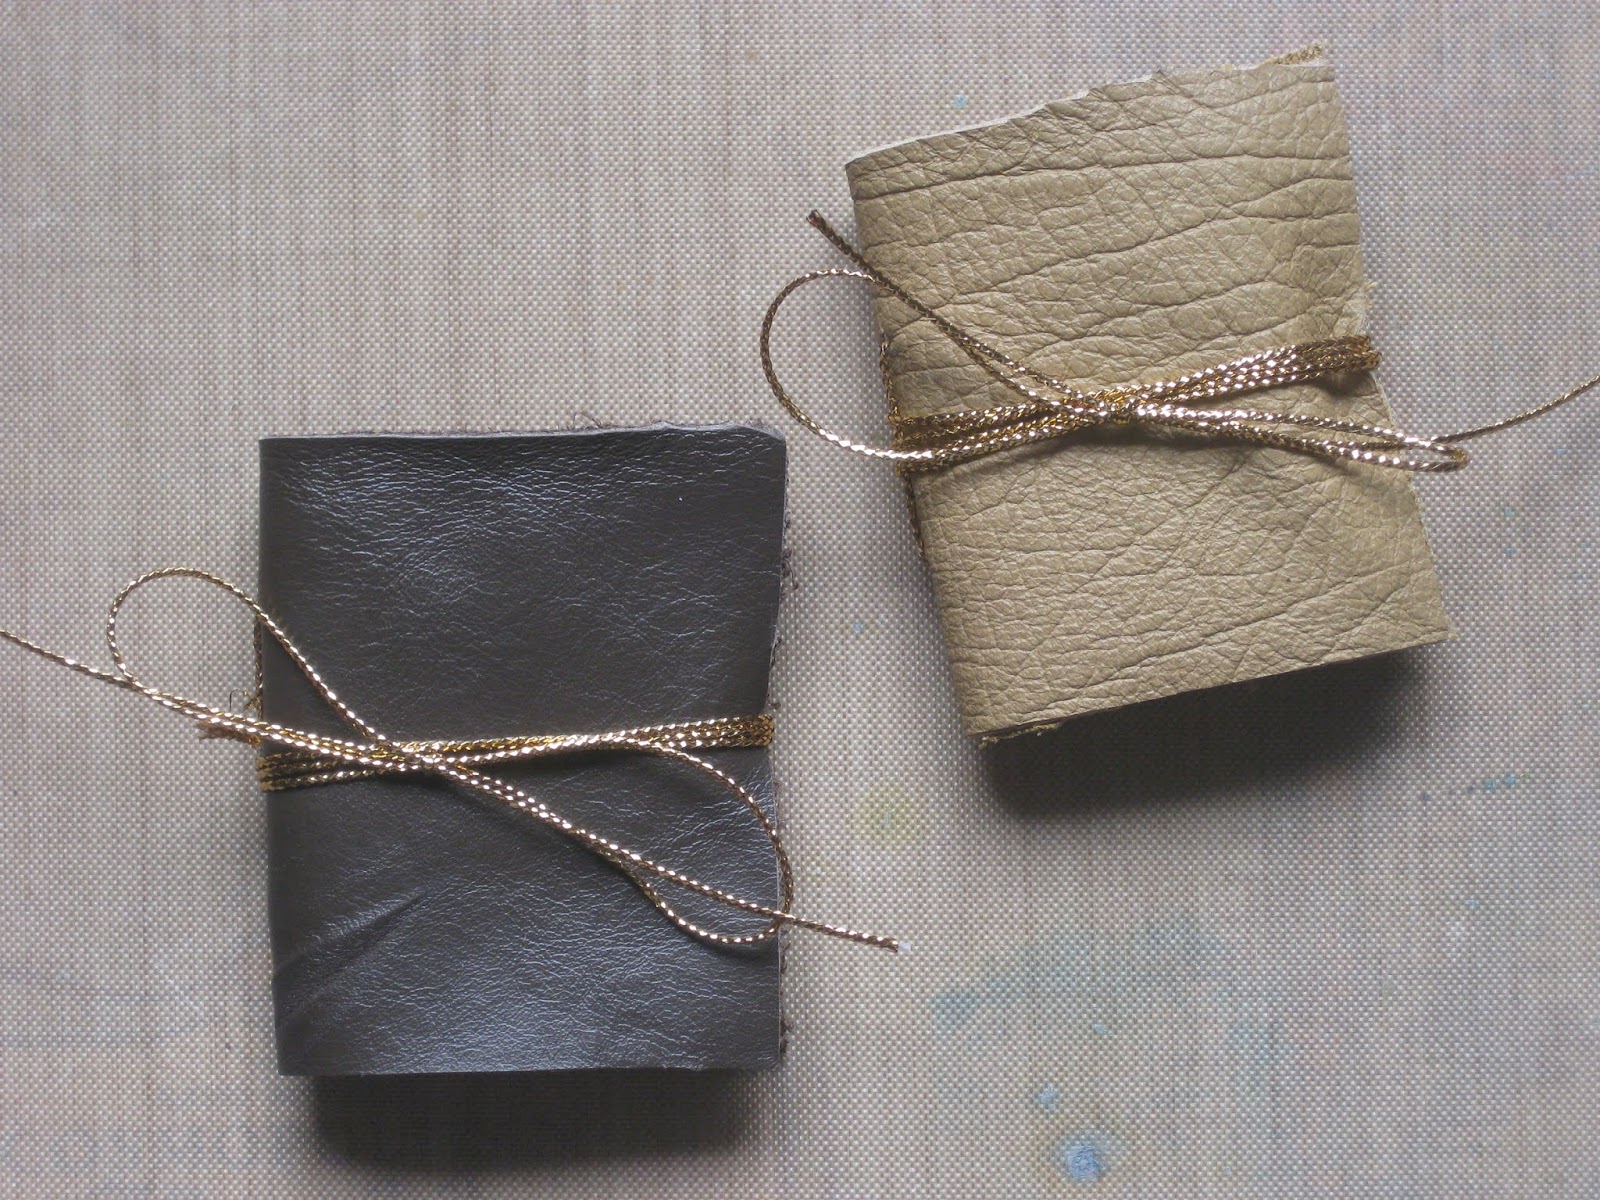
One of the fun projects was to make a miniature book.


This miniature book measures approximately 3cm x 3cm.


Each page is held in place under flaps
which also allows them to be taken out to decorate or write on.
According to "Making Handmade Books" by Alisa Golden, this method is called 'Crown Binding'.


This shows the size of the book alongside a regular pen.

The spine and the pages are made using 200gsm water colour paper,
with the cover being Tim Holtz 'Distress Watercolor Cardstock' which is a little heavier.
The cover was coloured using Ken Oliver Color Burst powder paint spritzed with water
leaving a unique mottled pattern.

I have a couple more things that need to be made
and then I guess I should make a start on this years Christmas cards.
Happy Crafting!
 

Wednesday 14 November 2018

Diary Musings

When I started this blog, I wanted it to be a bit of a craft diary for a couple of reasons:
 (1) to share with others and
 (2) as a record of what I had made. 
These days it seems that blogging is waning somewhat
and that facebook and instagram have taken over.
Although I don't comment as much as I used to, nevertheless I still enjoy reading blogs
as quite often there are instructions along with a list of what has been used to create the project.
 
Anyhoo, enough of the chatter.
 
 I've been playing with miniatures .....


..... miniature books, that is.

These are my first two attemps, both with leather covers.
They measure 1 1/2" wide by 2" high and have one signature of 6 pages,
which are held in place by this gold thread.


Admittedly these are both fairly plain and need a bit of tweaking
but they were fun to make.

I quite enjoy working on small projects and hope to make more tiny books - stayed tuned!

 Happy Crafting!


Wednesday 7 November 2018

Another Birthday?


Whenever I'm at the shops, one of my first stops is browsing the newsagency
for any new papercraft magazines and what, if any, freebies are attached. 


The stamp set attached to Creative Stamping [Issue 57] magazine tickled my fancy
with its fun animal stamps and co-ordinating sentiments.

I stamped the llama directly onto some white card and coloured him with a variety of light browns and a smidge of blue on his eyelids.  
Next I stamped him again onto some scrap paper, cut around it and using it as a mask, 
stamped the grasses around his feet.  The sentiment was then stamped off to the side.


I hand-drew a border around the edges, then mounted the card on a varigated green mat
before adhering it to a folded white card.

An easy but fun little card - I hope the recipent liked it!

Happy Crafting!
 

Sunday 4 November 2018

Birthday Wishes

The last few weeks have been just a tad busy, 
hence why my poor blog is feeling a little neglected.
However the end is in sight along with a Papercraft Show next weekend,
just what I need to get Mr Mojo enthusiastic again!


Hmmm .... I just realised this card is fairly monotone with a splash of colour,
but hey it works for me!

Anyhoo, back to the matter at hand, I made this card for my brother
whose birthday it was recently.

The pussy was stamped directly onto the card
with the bird positioned on its back. 
Both were coloured with prismacolor pencils.


The thought bubble, happy birthday and sewing line were all stamped
and to finish it off, I drew a line by hand around the other three sides.

To add a little depth, I used double-sided foam tape to adhere the panel to folded card.

Stamps
 Katzelkraft - KTZ152
Lawn Fawn - A Birdie Told Me
Darkroom Door - Happy Birthday
49 and Market - Gabi's Line Stitch Stamp Set

  Happy Crafting!
 

Saturday 3 November 2018

F is for Fantasy


I'm quite excited to share with you 
that Agatha Witch, who took centre stage in my 'P is for Pink Halloween'
[see my previous post]
was crowned Queen of Snark.

 In so being crowned, I was invited to be a guest of the new theme
F is for Fantasy - #122


Using a 2 1/2" circle as a mask, I blended 'broken china' and 'wilted voilet' Distress Inks,
then removing the mask continued to blend 'twisted citron' to create an orb.  I replaced the mask briefly and lightly spritzed the card with water.

I stamped all the images in the following order : the halo of stars, the field mouse, the gnarled tree, the fairy, the sentiment and lastly, the birds.


To add a little more interest, I added touches of silver Gelly Roll pen to the fairy's wings
and the dots between the stars.
[you can just see them in the different angle of the card]


It is always fun to play along with the 
Sisterhood of Snarky Stampers
so why not join in the fun?
You too, might be crowned Queen of Snark!

Stamps
Lavinia Stamps : Three Field Mice; Three Dancing Fairies; Seasonal Tree; Star Cluster; Birds
Kindred Stamps : Wizard Friends

Ink
Distress Ink : broken china; wilted violet; twisted citron
Versa Fine : Onyx Black

   Happy Crafting!