Showing posts with label Vintage. Show all posts

Tuesday, 9 December 2014

Vintage Santa

I'm back again ........
 
As I mentioned in yesterday's post, I was having a lovely play making a variety of things for different challenges this week.
The theme for the Tagalong challenge this week is 
Vintage Santa


I started off with a manilla tag (not sure of the size) and coloured it using 'Barn Door' and 'Iced Spruce' Distress Inks.  I then spritzed it with water and let the colours dribble together a bit.    I then added just a tad more colour to brighten it up a little.

Next I pounced (ponced?) 'Barn Door' through a stencil for a bubble effect, stamped holly along the side using more 'Iced Spruce' (which looks a bit patchy) and in the top left corner.

To give a bit of dimension and glimmer, I used Viva Modellier Creme 'Mother of Pearl Champagne' through a stencil randomly in three places.

The words and picture of Santa on Horseback came from Darkroom Door word & picture strips that were in my 'mystery box' which arrived last week.  The two holly berries were stamped and coloured from Julie Nutting "Merry Nice" set, with a touch of Wink of Stella pen on the berries.

To finish off, I coloured the seam binding ribbon to match, tied it into a bow and attached it with a staple.

Gosh, I am on a roll this week; hopefully I'll be back tomorrow after I've made something for yet another challenge!
 
Happy Crafting!!!
 

Friday, 5 December 2014

Vintage Christmas Cards

This morning I joined the scrapbooking ladies at Alice in Paperland, although only two of them were actually scrapbooking; one lady was making book covers and I was making more Christmas cards.  It is very rare for me to scrapbook although it is something that I think I should do more often.


The background papers came from a 6" x 6" pad from Bo Bunny which was a recent freebie on the front of a card magazine.  Included in the freebie was also a christmas stamp set with which I stamped 'Happy Christmas' on the front of each card using 'jet black' Archival Ink.


The papers are all double sided and some seem to look better on white cardstock while others look better on ivory cardstock, so I made five of each.

The vintage santas on each card came from Darkroom Door, as part of a "mystery pack" which was delivered to me during the week.  

These cards were all very easy to put together, just cut the paper to size, ink around the edges in Distress Ink "spruce", add a narrow strip (also inked on the edges) and pop up santa on dimensionals.

Happy Crafting!
 

Wednesday, 21 August 2013

Elegance for a 70th

Brrrrr, it's been a bit of a brisk day today and our house is a cold hole in the winter.  Mind you I could put on the air-con, but I just can't justify it for one person, so I guess I'll just have to put up with being cold (silly me). 

Anyhow before I realised how cold (hungry too, 'cause it was lunchtime) I was, I was busy making a 70th birthday card for a friend's mum.   She said her mum likes 'autumn' colours and although this isn't strictly autumn, I hope she'll like the elegance of this card.


If you're a Graphic 45 fan, you'll recognise this paper from "A Ladies Diary", one of my favourites although the paper is getting much harder to find now. 


The card itself is made using 'A Ladies Diary' cut down to approximately A5 size (folded) (ie flat, it's A4).  The lady is then fussy cut twice and layered.  The flowers are also fussy cut and layered with some ivory ribbon added.

The inside has a piece of ivory cardstock on both sides, partly for stability but mostly for decoration and somewhere to write a message.


Since this card is an unusual size, a matching envelope had to be created too, from a full sheet cut down by an inch for the flap.  Hopefully this card will be hand delivered otherwise a large envelope will need to be purchased.


Purely by chance, last week I put together a little brag book using the same collection of papers and so I thought I would ask my friend if she would like to give this to her mum as well.  There's sure to be photos for a 70th birthday which could be added to the book, along with anecdotes from the day.


I'll be handing this over to my friend in the next day or two, fingers crossed she approves (otherwise I could be starting all over again, sigh).  Happy 70th Birthday!

Anyhow, I must away as the sun has gone down for the day, the furry feline is meowing for her dinner and I'd better do something about our dinner as well.  Home made vegetable soup with crusty bread, I think - mmmm yum!

Until next time, happy crafting!
 

Sunday, 3 March 2013

Vintage Masculine cards

Yesterday I once again headed up to the central coast to teach a Vintage Masculine card class.  Leaving myself plenty of time, including stopping for petrol, I left home at 8.40am expecting to arrive around 10am.  Silly me - there was a 4km traffic jam stretching south from Mt White due to an earlier accident, so crawling one car length every few minutes meant that I arrived for my 10.30am class at 11am - grrrrrr!!   Thank goodness for mobile phones.  The ladies were patiently waiting for my arrival and had already cut the card sizes and were enjoying cups of coffee.  AND it was another rather wet day!


We were using Tim Holtz' "Warehouse District" stamps and different colours of Distress Inks.  Once the backgrounds were inked up, a quick spritz with water followed by paper towel mop-up, and the aging process is looking good.  I'm quite intriqued by how Distress Inks react with water, if you haven't tried it out, give it a go and see for yourself.


The 'ticket' was inked, spritzed and scrunched before opening out for a battered look.  The plane is popped up on dimensionals over the top.


The blue strip across the panel is a piece of tissue tape which has been scrunched and pleated and inked up.  The compass has been placed over the top using a brad to secure it in place.  A little bit of tearing on the panel completes the aged look.


In this card, the distressed tag is cut by hand from scrap.  The ribbon tie is another piece of tissue tape, coloured and poked through a punched hole.  I was watching Tim Holtz on youtube a couple of weeks back and he had been using tissue tape like this and I thought "what a great idea".  It's a little bit stiff as it's doubled over, but it looks great, it doesn't fray and it stays in place.  Thanks Tim!

The trip home was uneventful and I got back in just over an hour.  Glad I don't have to do this drive every day.  Many do, including my older brother who quite often shares the driving with others who live nearby.

Happy crafting!
 

Sunday, 27 January 2013

50th Birthday Card

This morning I thought I'd show one of the Belated Birthday cards which went in the mail last weekend.  Unfortunately I was in such a hurry to post them, I forgot to take a photo of the second one.


I'm sure I'm not alone when I say I quite often find masculine cards hard to make, so I decided I would go with a collage style using stamps from Tim Holtz "Warehouse District".  There are 12 stamps in this set which makes co-ordinating easy-peasy!  I used Vintage Photo as the main colour with splashes of Stormy Sky and Peeled Paint, all Distress Inks.   Because I wanted this to be subtle,  I added the "50" to a few little gaps; and then to finish, mounted the quote onto dimensionals.   I love how easy it is to create an aged look just by daubering around the edges of cardstock.

The second card was made using the same techniques but using SU "Clockworks" instead.  Silly me for not taking a photo, oops! 

And now for something completely different .......

I have a begonia which came from my grandmother many years ago, which flourished until my cat knocked it off the window sill and it has struggled ever since, but a few weeks ago it put on a beautiful display so I thought I'd share it .......


I've always felt I have to keep this plant alive and it is a struggle at times, but it reminds me of grandma and her love of flowers.  She always had a vase of flowers in the house cut from the garden. She planted annuals of poppies, pansies and petunias and my favourite, snap dragons.  Always love to play with them and tell them how pretty they are, they have a nice perfume too!  Anyway, enough reminiscing .......

Happy crafting!

Thursday, 28 June 2012

Vintage Tags

My apologies for not showing the other two projects we made at the Brisbane Papercraft Convention, however this afternoon I have put the finishing touches on the Tri-Fold Shutter Album which should be ready to photograph as soon as the sun decides to come out again.  Unfortunately our weather today has been overcast and cold and not conducive to taking good photos.  I'm still working on finishing A Busy Book for a Busy Life and hope that it too will be ready to show off in the next few days.

So instead I thought I'd show the final tag in the Kaisercraft Vintage collection.  This stamp had sold out at the time I bought the others, but it is now back in stock so I was able to create another 3D tag.

In the first layer I've popped up the Imagine bingo card, the teacup and gramophone, the second layer is the teacup and gramophone and finally the gramophone by itself.  The fob watch is coloured, fussy cut and then glued flat over the original image.  The little bluebird is also fussy cut and glued flat over the original image.

Thanks for coming to have a look at my blog, I'd love you to leave a comment, so as always ........

Have a crafty day!

Thursday, 7 June 2012

Vintage Tags

After demonstrating 3D tags at Alice's last week, I came home with the two demos and realised that I'd forgotten a layer on both, not noticeable to the people who came to watch, but noticeable to me, nonetheless.  So, what to do?  Easy, make cards out of them to add to my stash that I go to whenever a greeting card is needed. 

I've used some DSP from SU's "Newsprint" collection, which has been lightly sponged with 'Vintage Photo' distress ink on the edges to blend in with the tag.  I wrapped some SU hemp twine around the newsprint and tied with a knot on one side, then adhered it to some crumbcake cardstock, also lightly sponged.

This 'cherish' card has been made the same way as 'believe'  except I popped in a piece of lace to replace the twine - sorry the lace is a little hard to see.

I think they looked quite good, and made just in time, as one went in tonight's mail, and the other will probably be used in the next few days, as this coming week has 5 birthdays in 4 days, and everyone will receive a card.

This weekend (Queen's Birthday) I'm heading to Brisbane with my BFF Bev, to have lots of fun at the Scrapbooking & Papercraft Convention which is held over 3 days.  We are flying first thing on Saturday morning, with lots of time to look around before we join our first class at 2pm.  We have 4 classes booked over the 3 days and we're both really looking forward to our weekend away.  Only 2 sleeps to go!!!!

Have a crafty day!

Wednesday, 23 May 2012

Vintage Tags

I'm back again today to show some more of the Kaisercraft "Vintage" stamps in the collection.  I was really pleased with how the 'Cherish' and 'Believe' tags looked, so yesterday I bought the other 3 stamps - 'Treasure', 'Love' and 'Journey'.  I've been having a lovely morning making the other tags while listening to Kate Miller-Heidke on my I-Pod.  She is really quirky and my DH and I recently went to hear/see her at the Sydney Opera House.  I'm beginning to think music and mojo go hand-in-hand!

I've tried to 'age' all the tags using a distress tool and tearing a little, crumpling up and then inking over the creases.  I think my favourite in this group is the 'Treasure' - the suitcase 3D'd really well.

Next week at Alice's, I'm demonstrating 3D cards, so I think I'll be taking along these tags as samples and perhaps replicating a couple of them to leave in the shop.

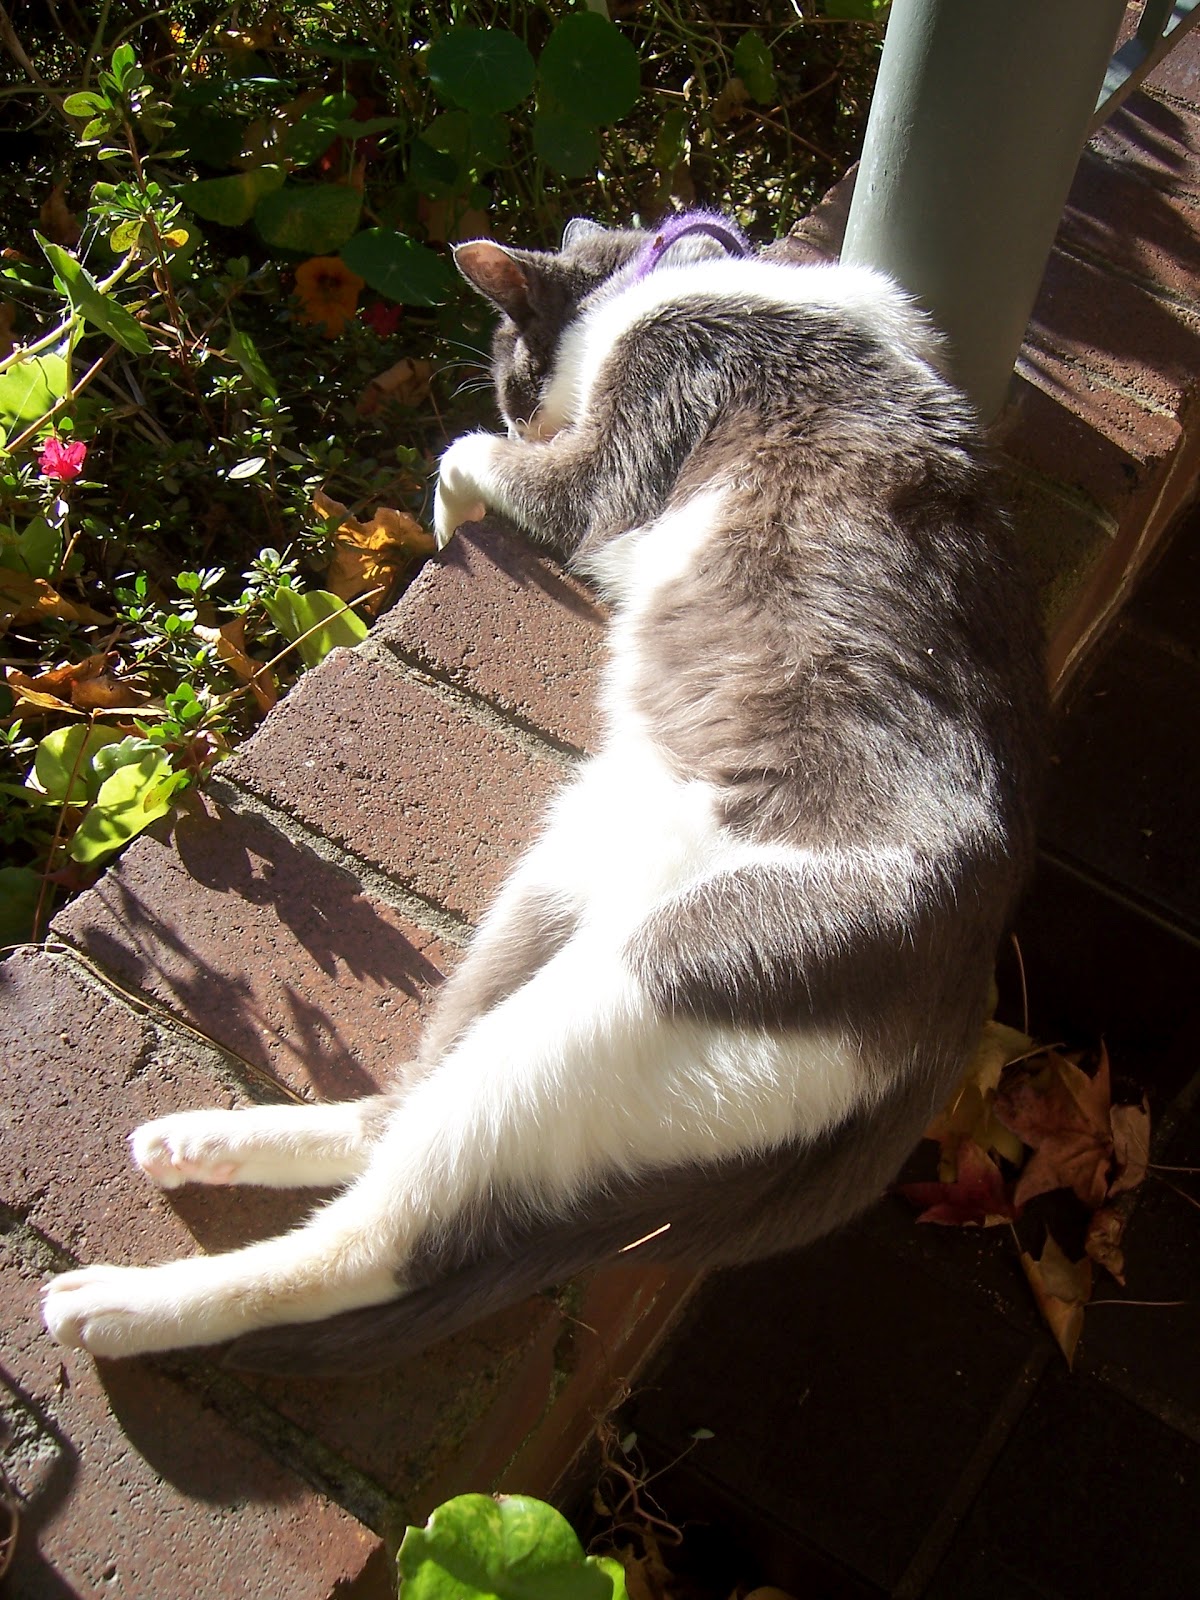
The weather in Sydney this week has been gorgeous and our cat Frostie thinks so too.


Have a crafty day!


Saturday, 12 May 2012

Vintage Tags

This afternoon I wanted to create something vintage from a couple of new stamps that Kaisercraft have recently released : "Vintage - Believe" and "Vintage - Cherish".  When I first saw these stamps (and there are a few more in the set [sold separately]) I could see some great 3D images emerging.  I often look for stamps where I can get more out of them then just a flat image and these fit the bill perfectly.

I first stamped the images 4 times each using StazOn and coloured the images using a blending tool and distress inks : vintage photo, stormy sky, peeled paint, mustard seed and fired brick, and then fussy cut around the areas I wanted to pop up.


I've used a distressing tool around all the edges and rolled corners over, as well as distressing the 'believe' and 'cherish' panels.  At the bottom of 'believe' is a piece of cream lace.

Wishing all the mums out there a "Happy Mother's Day".

Have a crafty day!

Saturday, 7 April 2012

7 Gypsies Mini Album

I always find the Easter weekend very relaxing, we rarely go away, but have a lovely quiet time at home.  Today DS#1 has gone off to the Royal Easter Show with some friends and will probably stay until the fireworks tonight.  In a while I shall go back to my "desk"  (i.e. the end of my dining table) and think about the upcoming class at Alice's.

But first let me show you a little project I've been working on since I was on the coast last week.  There is a great scrapbooking shop at Tuggerah called Pages 2 Scrap, only a few minutes from my BFF, and I asked her if we had time, could we go and visit the shop.  Not only did we visit but she left me there to browse while she went off to pick up her son from school ...... aahh bliss!  Hanging on the 7 Gypsies stand was a sample book made with chipboard covers, just my thing - I love making little albums/books - so I bought a packet of covers, some Prima paper for the pages, a couple of other bits'n pieces and then waited outside to be picked up.

As you can see, all the pages are different sizes, you can get so much out of a couple of sheets of paper.  The papers used for this project were from Prima "Almanac Collection" - 'Agenda' and 'Composition' with a couple of images from Graphic 45 "Olde Curiosity Shoppe" - 'Genuine Article' and 'Parlor Wall'.  I've use Distress Ink 'Vintage Photo' blended on the edge of all the pages to give the book a vintage feel.  My cropadile was used to punch the holes for the album rings.

This was so much fun that I decided to make another book, this time using Graphic 45 "Tropical Travelogue" papers.  The cover is from plain chipboard I found in my stash, which was about the same thickness as the 7 Gypsies covers.  Both books measure 5 1/2" x 3 1/2".

 This time the book has two album rings binding it together, using my cropadile to punch the holes.  Again I've blended 'Vintage Photo' distress ink around the edges of the pages. 

On the back page is a fold out just to add more dimension to the book.

When my DH looked at the first book, his comment was "hmmm, interesting".  "It's decorative", I said, "it doesn't have a real purpose", but I really enjoyed creating it!

Have a crafty day!