Saturday, 2 June 2012

Floral Watercolour

A few days ago I was having a play with some watercolour card to use as a background, but as I'm not very familiar with using this technique, it was a bit of a mishmash and didn't turn out as I had imagined.  However, as I looked at it, I decided I would put it through the cuttlebug using the Tattered Florals die from Tim Holz, and create a flower to add to a card.


The flower was layered and finished with a pearl brad, and the lace is from Green Tara and is self adhesive.  The idea for the watercolour background came from Vicky at www.craftingclare.blogspot.com and is something I will play with some more as the thought of creating a background is quite appealing.

Have a crafty day!

Thursday, 31 May 2012

Dalek Card

Today is my DH's birthday and I thought I would make him a Dalek card since he has been a Doctor Who fan since before we even met (and we have been married 27 years).  The pattern for the Dalek came from www.valitasfreshfolds.blogspot.com so have a look at all the lovely things she creates from punches, she is very inspiring.

The top photo was taken on a dismal afternoon which was also blowing a gale, so is not quite as good as it could have been.  And yes, it does have a couple of moving parts, the sucker arm and the gun thing.  All material from SU.

I'm now feeling I could tackle making a K-9 card, so I'll have to study my DH's remote K-9 for inspiration.

Have a crafty day!

Wednesday, 23 May 2012

Vintage Tags

I'm back again today to show some more of the Kaisercraft "Vintage" stamps in the collection.  I was really pleased with how the 'Cherish' and 'Believe' tags looked, so yesterday I bought the other 3 stamps - 'Treasure', 'Love' and 'Journey'.  I've been having a lovely morning making the other tags while listening to Kate Miller-Heidke on my I-Pod.  She is really quirky and my DH and I recently went to hear/see her at the Sydney Opera House.  I'm beginning to think music and mojo go hand-in-hand!

I've tried to 'age' all the tags using a distress tool and tearing a little, crumpling up and then inking over the creases.  I think my favourite in this group is the 'Treasure' - the suitcase 3D'd really well.

Next week at Alice's, I'm demonstrating 3D cards, so I think I'll be taking along these tags as samples and perhaps replicating a couple of them to leave in the shop.

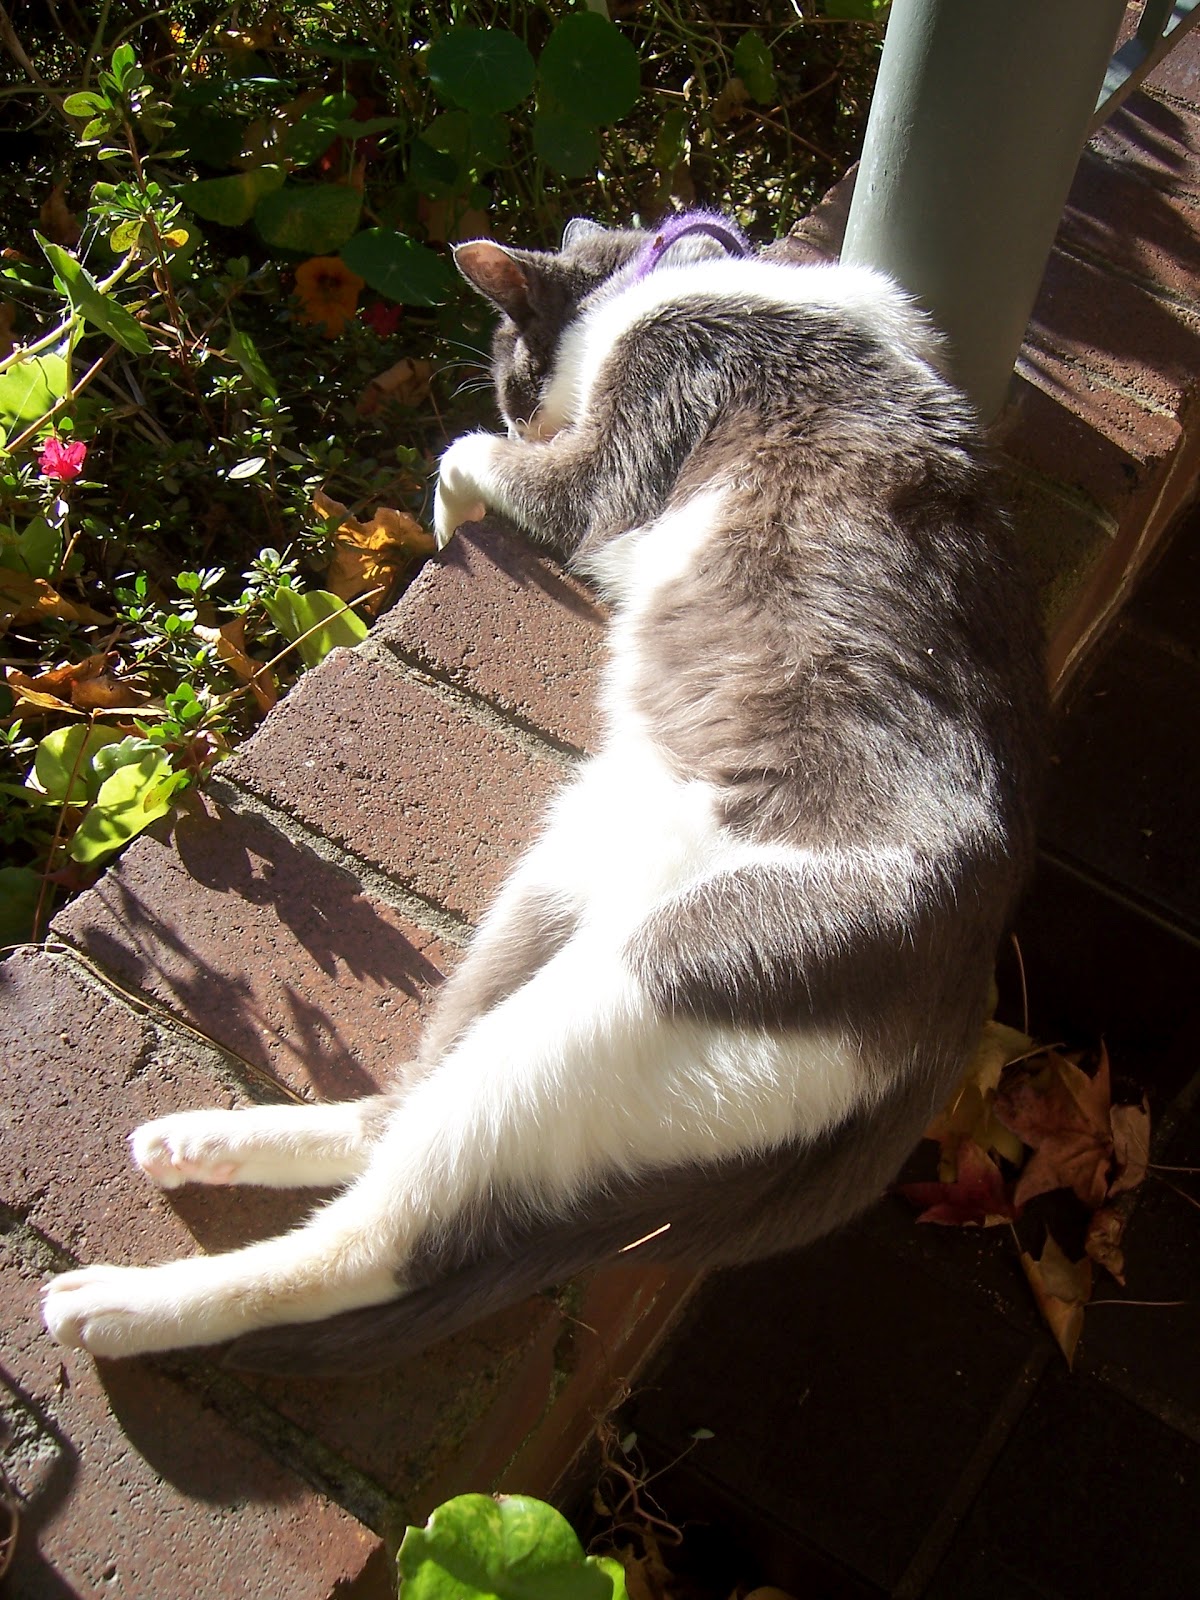
The weather in Sydney this week has been gorgeous and our cat Frostie thinks so too.


Have a crafty day!


Tuesday, 15 May 2012

Acetate Cards #2

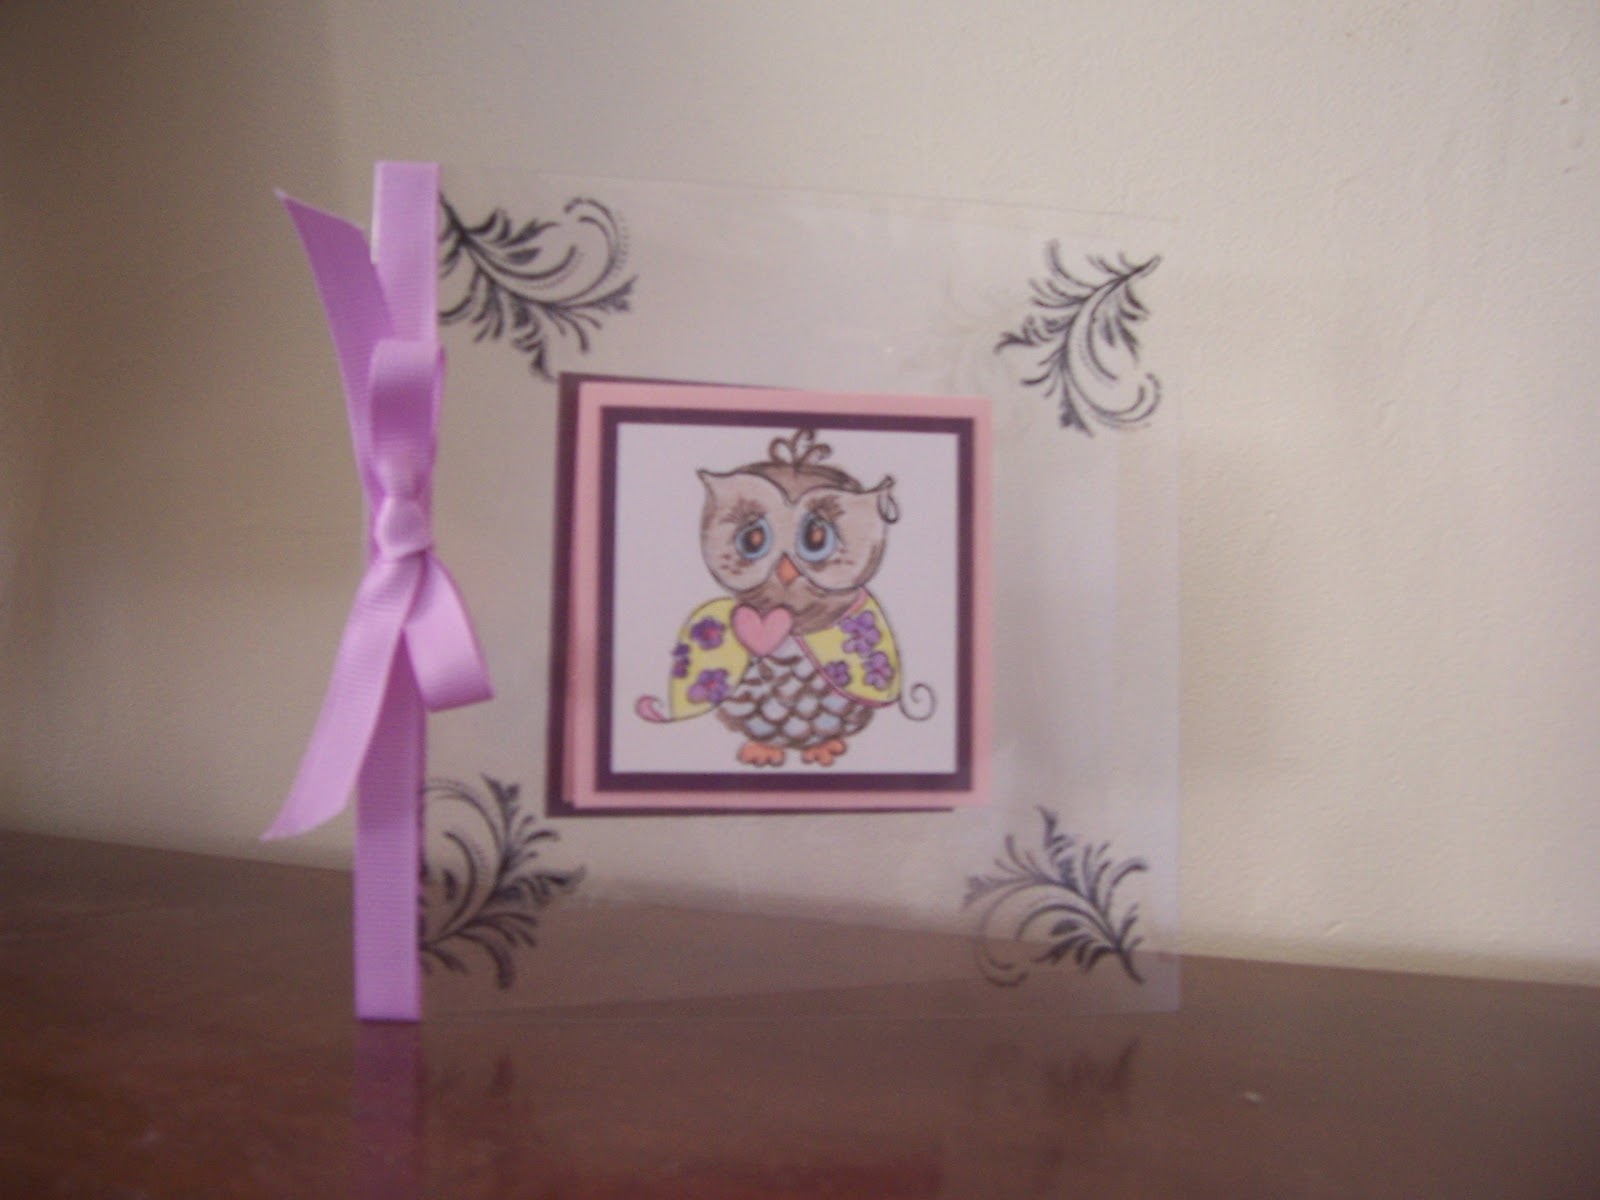
I'm back to show you the second of the acetate cards we made in class this morning at Alice in Paperland.  This card was really easy to put together, just as long as you have a grid to line the initial stamped image up.  I find Stampin' Up!'s grid paper so useful in lining up all sorts of things and by the time it needs throwing out, there's not much blank left to see, front or back!

I started with a piece of acetate 11" x 5 1/2"  to make a square card.  Using black StazOn I stamped each of the corners, then put it aside while I stamped up the owl and coloured it with water-colour pencils and a water brush.   This piece is adhered to the centre front of the acetate.  The second mat is adhered to the inside of the acetate, taking care to line it up, which hides the double-sided tape.  Adhere the third mat in the same way.  On the inside back of the acetate, adhere another card the same size as the third mat, lining it up exactly behind the front mats.  You now have somewhere to write your greeting.  Finish with a fourth mat, adhering it to the back of the acetate, again this hides the double-sided tape, and add some ribbon as embellishment.   The idea for this card came from www.splitcoaststampers.com so have a look.

I feel I've repeated myself so many times in the instructions, but it really is easy.  Unfortunately I wasn't able to take a photo of the inside as being acetate, it was very hard to keep open.

Have a crafty day!


Monday, 14 May 2012

Acetate Cards

This week at Alice in Paperland, I am teaching Acetate cards.  There are probably a number of different ways to make cards using acetate and I am demonstrating two of them.  The first uses two A5 cards joined together with the left side cut diagonally across.

Acetate is then fixed onto the back of this panel and then is sandwiched by the cut-off piece being re-attached.  I fussy cut around two images of M'lle Beeson and popped her up to create some dimension.

I added a panel of patterned paper and fussy cut around some more images before turning to the centre of the card.

The centre panel is fairly straightforward, with another image on the right-hand side.  All paper used came from Graphic 45 "le Circque" collection.

I'll be back soon to show you the second of the acetate cards that the class will be making.

Have a crafty day!


Saturday, 12 May 2012

Vintage Tags

This afternoon I wanted to create something vintage from a couple of new stamps that Kaisercraft have recently released : "Vintage - Believe" and "Vintage - Cherish".  When I first saw these stamps (and there are a few more in the set [sold separately]) I could see some great 3D images emerging.  I often look for stamps where I can get more out of them then just a flat image and these fit the bill perfectly.

I first stamped the images 4 times each using StazOn and coloured the images using a blending tool and distress inks : vintage photo, stormy sky, peeled paint, mustard seed and fired brick, and then fussy cut around the areas I wanted to pop up.


I've used a distressing tool around all the edges and rolled corners over, as well as distressing the 'believe' and 'cherish' panels.  At the bottom of 'believe' is a piece of cream lace.

Wishing all the mums out there a "Happy Mother's Day".

Have a crafty day!

Monday, 7 May 2012

21st Birthday

A few weeks ago, you may remember I helped my friend and her daughter make 21st birthday invitations.  Well, the 21st Birthday party was on Saturday night, which unfortunately I wasn't able to go to as I was away  for the weekend.  As it was a family invitation my DH, DS#1 and DS#2 joined in the celebrations and a good time was had by all.

This is the card I made for her 21st.  I continued the invitation theme (a masquerade cocktail party) with the same colour card and mask (she had cut tiny masks without the feather which were put onto each invitation) and made an easel card.

Although it is hard to see, next to the key stamped in concord crush is the word 'Congratulations' from SU "Well Scripted".  The mask and dress came pre-made and just needed attaching to the card.

The Mother's Group girls and I had a lovely relaxing weekend away at Terrigal.  The weather was perfect for autumn and we had lunch at the beach, went for a couple of leisurely walks and visited a fruit winery, very different but quite nice.

This was the view overlooking Terrigal from the verandah of the house where we stayed.

Have a crafty day!